How to Remove Yellow Armpit Stains From White Shirts
Treat yellow underarm marks on washable white shirts with label-safe pretreatment, careful washing and checks before using dryer heat.
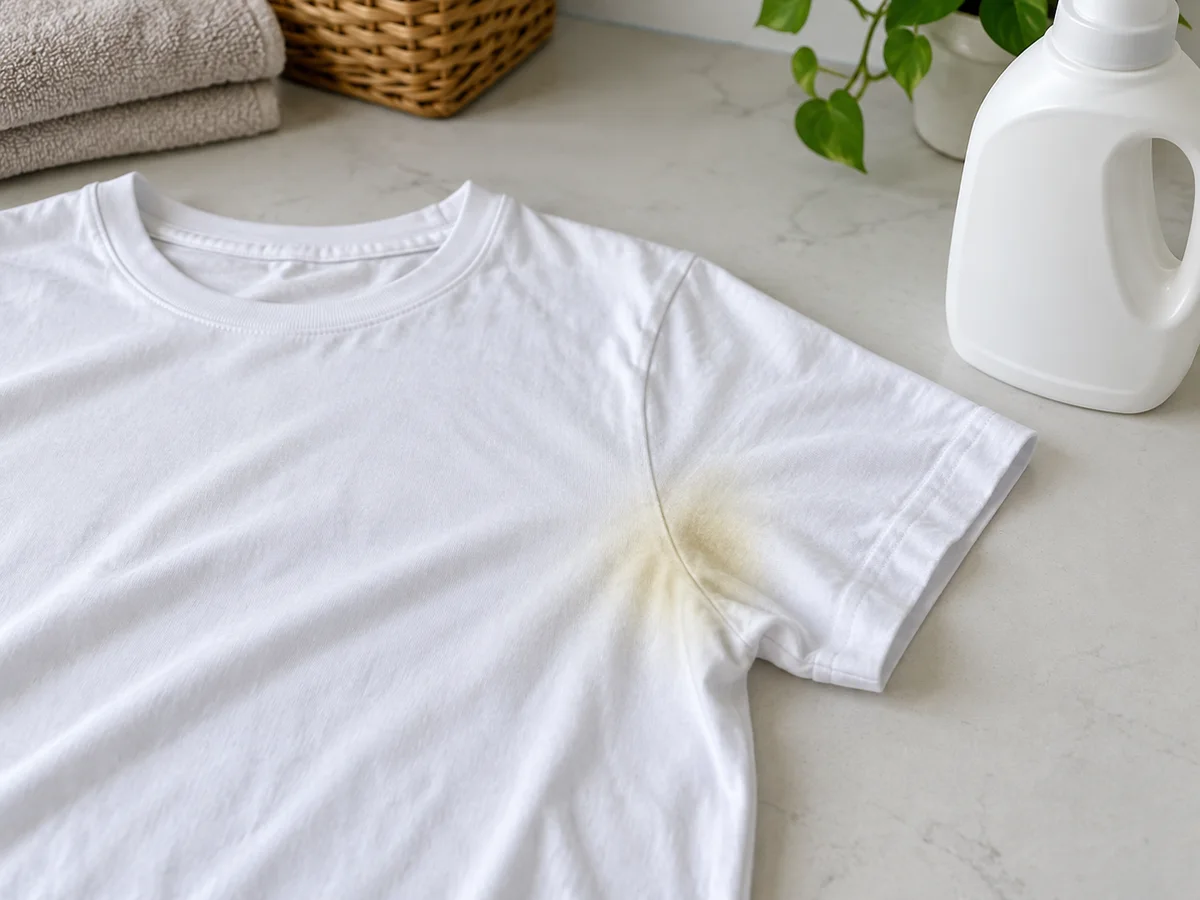
For a washable white shirt, start with care-label checks, a compatible pretreatment and a normal permitted wash, then inspect the underarms before applying dryer or iron heat. Do not jump straight to strong bleach or a mixture of household products. Old marks, changed fabric colour and damaged fibres may not be reversible.
This guide concerns ordinary perspiration and deodorant-related marks on clothing. A dry-clean-only shirt, fragile embroidered garment or item with an unclear label needs assessment before home treatment. White colour alone does not establish that a fabric can tolerate a particular product.
Identify the mark before choosing a treatment
Check both underarms in good light and compare them with the surrounding fabric. Note whether the area feels coated, appears yellow, has a white residue or shows a wider colour change. Also look for thinning or damage from previous scrubbing.
Ariel’s underarm-stain guide identifies perspiration and deodorant or antiperspirant build-up as sources of marks. Appearance can help you describe the problem, but it does not establish the exact chemistry of every stain.
Ask what has happened to the shirt since the mark appeared. Has it already been tumble dried or ironed? Was a product applied and left on it? Is the discolouration confined to the underarms or present elsewhere? Keep those observations for a cleaner if home treatment does not resolve it.
Do not assume all yellowing has the same cause. A broad storage-related change or an unknown mark should not automatically receive the same treatment as a recent underarm residue.
Check the shirt and product labels
Read the washing, bleaching and drying instructions on the garment. Check any contrast stitching, printed areas, elastic components or decorative trim. A simple-looking white shirt can still have restrictions on bleach or heat.
Choose a laundry pretreatment or detergent whose label permits the intended use on that textile. Follow its application amount, contact time and rinsing instructions. Do not assume that a laundry capsule, powder, concentrated liquid and spray can all be applied directly in the same way.
If the directions require a colourfastness or hidden-area check, perform it as instructed. If the garment maker prohibits a product category, a successful small spot test does not cancel that prohibition.
The laundry-symbol guide can help decode the shirt’s restrictions. If you cannot reconcile the two labels, stop and ask for advice rather than choosing the stronger instruction.
Pretreat the affected area without improvising
Turn the shirt so the affected area is accessible and work on a suitable clean surface. Apply the permitted pretreatment according to its directions. Avoid aggressive brushing or pulling that could damage a worn underarm panel.
Ariel’s deodorant-residue guidance describes detergent pretreatment followed by laundering according to the garment’s care instructions. That supports the basic sequence, not a reason to use any detergent at any concentration or to ignore the product label.
Give the treatment the stated time. Do not leave it overnight unless the particular product and garment instructions support that use. Keep the item away from unrelated household cleaners while you work.
If the mark does not improve, resist adding a second product over the first. Finish or rinse the existing treatment as directed, then reassess. A record of one controlled treatment is more useful than an unknown combination when a cleaner later examines the shirt.
Wash and inspect before using heat
Wash using the programme and temperature permitted by the garment, with the product dose appropriate to the actual load. Keep incompatible colours or care requirements out of the same wash. Avoid adding extra detergent simply because the stain is stubborn.
After washing, inspect the affected area before tumble drying or ironing. The American Cleaning Institute’s stain guide warns that dryer heat can set remaining stains. If you need the shirt to dry for a clearer inspection, use an allowed method without escalating heat to force the process.
Check whether the residue, colour or texture has changed. A mark that is lighter but still visible is not the same as a fully resolved stain. Decide whether another label-permitted treatment is reasonable or whether further work risks the fabric.
Do not promise yourself a fixed number of treatments. Stop if the textile begins to look worn, the colour changes unexpectedly or the next step would require a method not supported by the label.
Be cautious with bleach and home mixtures
The American Cleaning Institute notes that some stubborn perspiration stains may respond to suitable enzyme or oxygen-bleach products. Eligibility still depends on the textile and product instructions. “Non-chlorine” is not a universal guarantee of safety for every fibre, trim or finish.
White clothing does not justify unmeasured chlorine bleach. Check whether bleaching is allowed, which type is permitted and how the product must be used. If those conditions are unclear, keep bleach out of the treatment.
Never mix bleach with vinegar, ammonia or other household cleaners. The CDC’s chlorine guidance warns that mixing household bleach with some cleaning products can release hazardous gas. Follow product directions rather than combining internet recipes.
Kitchen ingredients are not automatically harmless to fabric either. Avoid treating a valuable shirt as a trial surface for a homemade mixture. If the routine labelled process is not enough, tell a cleaner what remains and what you have already used.
Compare the result before repeating treatment
Keep a simple before-and-after record for a persistent mark. Photograph the dry shirt in similar light, note the product used and record whether the area still feels coated after the permitted wash. Compare the fabric only when it is in a similar dry condition; a wet patch can look different without proving that the stain has improved.
The next decision depends on what changed:
| What you observe | Reasonable next step |
|---|---|
| Less residue and intact fabric | Check whether the same labelled process allows another treatment |
| No visible improvement | Reassess the cause or ask a cleaner before escalating |
| Thinning, surface wear or unexpected colour change | Stop further stain treatment and request assessment |
| Yellowing outside the underarms too | Describe the wider pattern instead of assuming a local sweat stain |
This is an observation aid, not a diagnosis of the stain’s chemistry. It also avoids the temptation to change several things at once. If you lengthen soaking, increase the product amount and scrub harder in the same attempt, neither you nor a cleaner can easily identify which step caused a new problem.
Ariel’s sweat-stain instructions include product-specific quantities and soaking steps. Do not transfer those quantities to another formula. Use the directions on the product you actually have and stay within the shirt’s care limits.
Know when to stop and ask for assessment
Seek advice before treatment when the label calls for professional cleaning, the shirt has delicate embroidery, the fabric is visibly weakened or the mark’s cause is unknown. Ask sooner when the item is difficult to replace or part of a matching formal outfit.
At handover, describe the mark, its age if known and every previous treatment. Mention drying or ironing after the stain appeared. Bring the product name or a photograph of its label if you used a pretreatment that the cleaner may need to identify.
WeClean’s Dry Cleaning service provides a route to enquire about appropriate assessment. It is not a guarantee that dry cleaning will remove a particular yellow mark. For an ordinary washable shirt, ask whether the relevant Wash, Dry & Fold service can accept the requested stain assessment or whether a separate service is needed.
Reduce repeated build-up
Wash affected clothing promptly rather than letting a known residue accumulate across repeated wears. Follow the directions for your deodorant or antiperspirant and allow it to dry as directed before dressing. Ariel recommends this to reduce product transfer to clothing; it is not a medical recommendation to change a treatment you rely on.
Inspect the underarms periodically so you can identify a new mark before it becomes a long-running problem. Keep successful garment-specific care notes rather than assuming the same treatment will suit every white top.
If the main problem is a musty smell after drying rather than an underarm mark, read the amoy kulob guide. The useful next step depends on the actual problem: describe it accurately, follow compatible instructions and avoid escalating a stain treatment beyond what the shirt can tolerate.